Photo of the Week: How to Teach Close Reading Through Pictures
Struggling readers often don’t struggle with the thinking portion of reading…they struggle with the words on the page. Have you ever thought about teaching close reading through pictures? It’s a great way to help your readers continue to build advanced reading comprehension skills, like inferring and summarizing, when the texts they are able to decode are too simple to challenge them with these higher-level comprehension skills.

Finding ways to help your struggling readers grasp complex comprehension tasks can be a challenge. See if you can relate to this scenario.
You have the perfect mini-lesson planned.
You’ve picked a great text, and you are totally going to rock this lesson.
However, as soon as the students go to practice, you are stuck juggling 20 different readers all at different stages.
Some of your students may never even get to practice the skill you just taught because their independent reading text doesn’t allow it. What’s a teacher to do?
The Benefits of Close Reading Through Pictures
Comprehension is not just something students do in text. We infer, summarize, and draw causal relationships all the time. When we apply these skills to text, it adds another layer of complexity. For struggling readers, the process can be overwhelming and prohibits them from truly focusing on developing their comprehension skills.
That’s where pictures come into play. Here are a few reasons using pictures is the perfect way to teach reading skills.
1. It equalizes the playing field for struggling readers.

By taking reading level out of the equation, students don’t need to decode before they apply the comprehension skill.
I cannot tell you how many times I’ve had the issue where my low readers aren’t able to do the skill we are working on in their leveled text.
This is a HUGE problem.
However, when I transitioned to using photos as a part of my reading lesson, even my non-readers were able to understand and practice the actual comprehension skill. Instead of being lost in the vocabulary or having their accuracy prevent them from understanding the text enough to craft a main idea sentence, they can simply focus on generating main idea sentences.
This means they can focus their mental energy on developing the skill and using the strategies you’ve introduced.
An added benefit is this can help prevent them from falling more behind because they’ll have a better understanding of the comprehension skill when they reach the reading level that allows them to apply it.
2. Pictures encourage participation.
We’ve all had those struggling readers who try to hide out in the corner during reading and avoid eye contact.
No matter how much we scaffold or praise, they avoid participating in reading because they don’t feel confident.
Using pictures lets these students build their confidence because they don’t have to actually read to be participating in building their reading skills.
3. Pictures break down language barriers.
Pictures are often one of the key ways to teach vocabulary for students who are learning English. As their skills develop, photos can be the perfect way to help build comprehension.
Instead of getting lost in the phonics or translation aspects of reading in a second language, students can focus on building their comprehension skills.
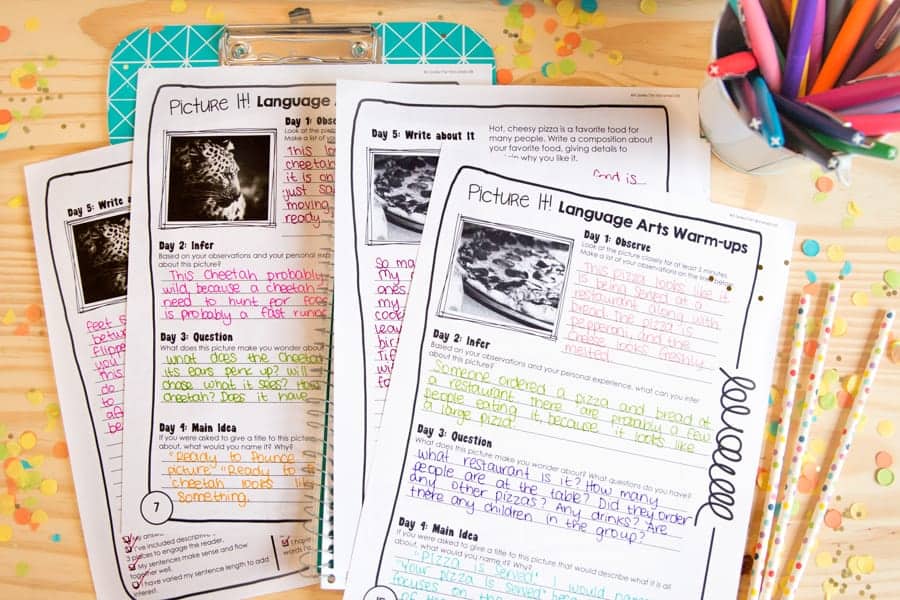
4. Photos make reading comprehension practice FUN!
So many low readers have lost their interest in reading. They know it is hard, and they don’t want to do it. In fact, some of them have even perfected the art of reading avoidance.
This, unfortunately, spirals because (as we all know) students who read become better readers and those who don’t…well, they don’t.
Using pictures makes the process of learning those important comprehension skills fun. Kids forget (or don’t realize…I’ll take either one!) that they are working on reading when they using photos.
How I created a routine for teaching reading through pictures
Routine is huge for my students. It saves a ton of time when I can create a routine that students can complete independently without a ton of directions. I’ve used pictures both as part of my morning routine and in literacy centers for students who need differentiated practice over the years.
Here’s how I structure the week:
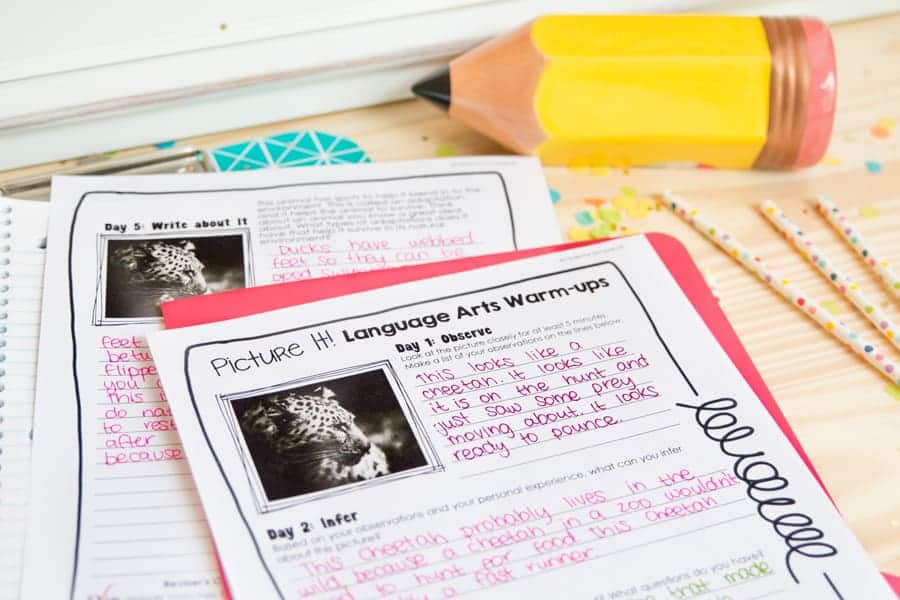
Monday: Observe the photo
Students observe the photo and document what they notice on Monday. The goal of the work is to attend to detail, which can often be difficult for struggling readers.
It also sets them up to do higher-level skills the other days because it gives them a chance to build the vocabulary needed to interpret the photograph.
Depending on the day, this was either discussed in partners or small group.
Tuesday-Thursday: Daily Comprehension Skill Focus
The middle part of the week broke down the important higher-level comprehension skills – inferring, questioning, and the main idea. Each day students focused their work around a different skill, but the photograph stayed the same all week.
This allowed them to dig deeper across time. It also allowed us to discuss the photo more in-depth across the week.
Friday: Quick Write & Edit
On Friday, students would complete a writing prompt that related to the image.
I always tried to keep these prompts interesting and something that even my struggling writers could engage with. They would work on this quick write while I was able to pull students for our weekly required assessments.
The genre changed regularly. Some weeks the students would be asked to write a short personal narrative related to the image. Other weeks they would write a descriptive or expository piece. Sometimes they would even be asked to write an opinion or creative writing piece.
This helped keep students practicing different genres, and it kept things from getting stale for the kids.
After writing, they could work through a short editing checklist. This allowed them to practice both composition and editing skills.
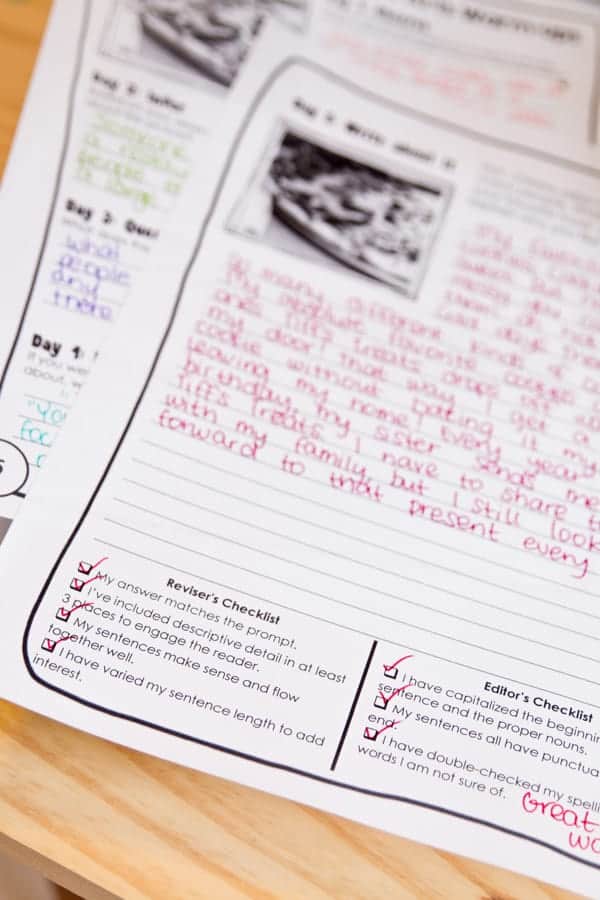
The revising and editing checklists at the bottom were also helpful because we could keep these pieces and use them to create a final draft later if the student was really engaged in the task.
How it worked…
This was the best part. After several weeks, I discovered that even my struggling readers had a better understanding of these skills and HOW to apply them. They were more equipped with strategies that allowed them to practice the skills through listening comprehension during read-aloud. I also saw that they were more easily able to apply the skills to text.
There was also less stress because my struggling readers were not trying to balance learning how to read with challenging comprehension skills. It provided me opportunities to work more deeply on decoding skills during their small group reading time without fear that the students weren’t being exposed to grade level comprehension skills. As a result, their accuracy and fluency developed and they were able to practice comprehension more readily in their text.
Want to try out my Picture It! Language Arts Warm-Ups?
I’d love to send you 2-weeks worth of picture comprehension warm-ups. They are perfect for your morning work or as a daily language arts center. You could even use them with a small group for tutoring or in addition to reading interventions to address specific skill gaps.
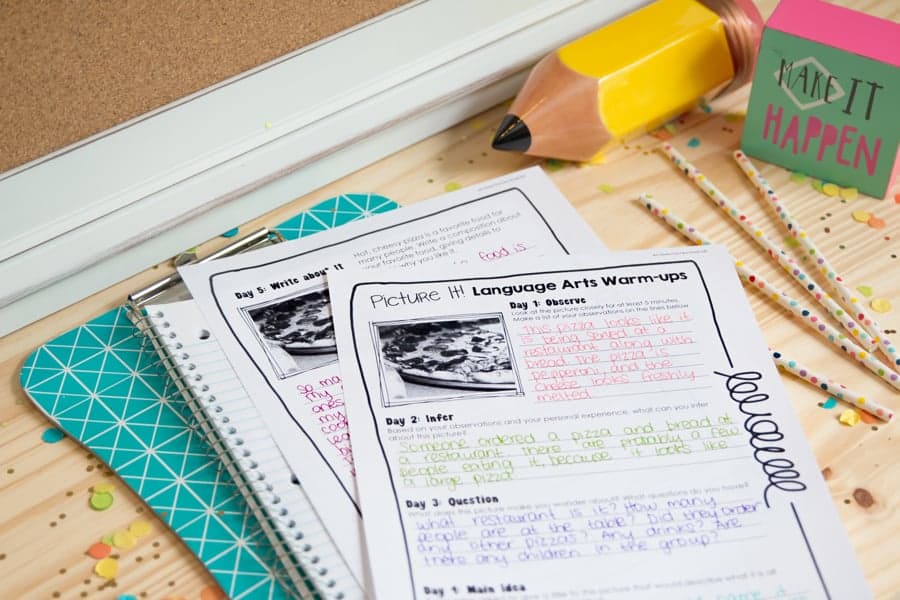
Here’s what you’ll get:
- 2 double-sided printable pages designed for students
- Larger color copies of the images – perfect for projecting
- Teacher tips & directions for implementation
All you need to do is enter your information below to get them delivered right to your inbox.
Ready to Purchase Photo of the Week to Teach Reading Through Pictures?
Ready to grab the bundle and start supporting your struggling readers with their ongoing reading and writing development without the stress of decoding? Click below to purchase the bundle at my Teachers Pay Teachers store.
Looking for more support struggling readers or writers? Check out these related articles:


